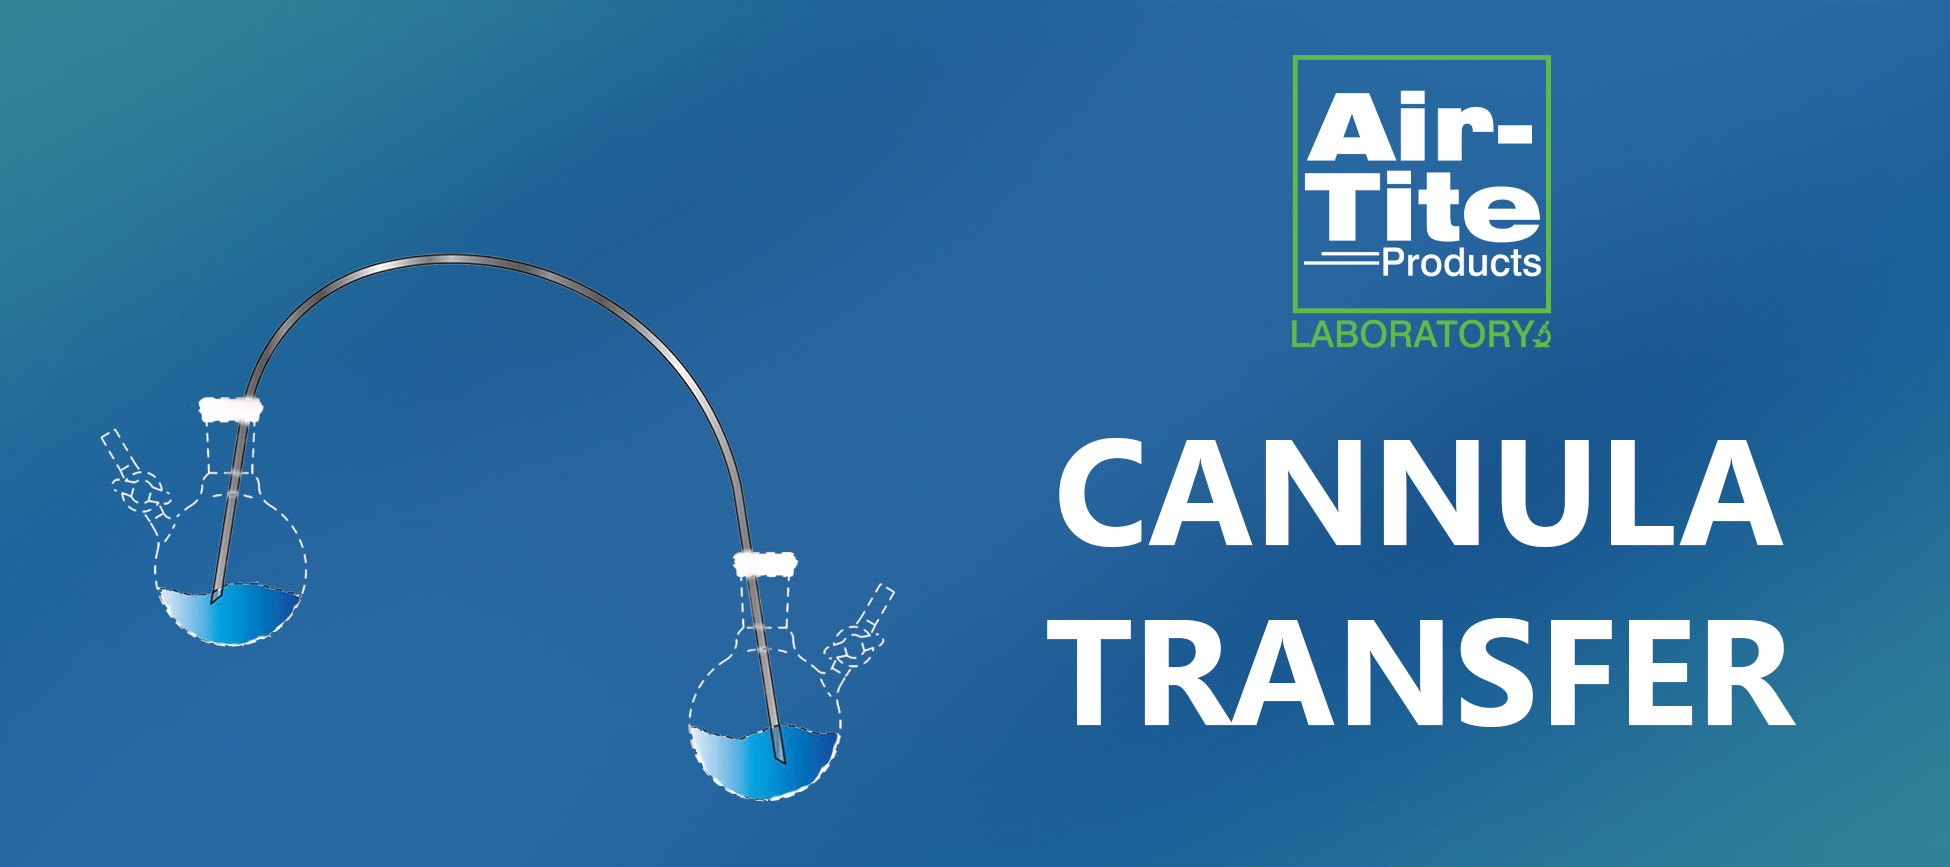
Cannula transfers allow precise and controlled fluid transfers in the lab setting. They’re used to prepare samples, run experiments, and conduct research and analysis. Here’s how to perform the three basic variations of this process and some special precautions to keep in mind.
There are three ways to perform a cannula transfer. But before you get started, here’s what you’ll need:
Because you’ll be dealing with a double-sided needle, it’s imperative to maintain situational awareness throughout the procedure to prevent needlesticks. Before starting any of the three techniques, you’ll need to take the following steps:
From this point, proceed to your preferred transfer method, cleaning the cannula immediately following the procedure. It’s also a good idea to remove the rubber septa and replace them with greased glass stoppers to prevent air from leaking into the flasks. Be sure to burp any stoppers you replaced throughout the producer to avoid tiny air pockets from interfering with the reaction.
To use positive pressure for your cannula transfer, you’ll start by inserting the cannula and a bleed needle into the receiving flask. The bleed needle should be the same gauge or smaller than the cannula. Next, be sure to close any other inlets to the flask and complete the following steps:
To do a cannula transfer with negative pressure, raise the starting flask as high as possible over the receiving flask after inserting the cannula into the receiving flask. Next, close the inlets on the receiving flask and leave the starting flask open to the line. Press the cannula lower than the solvent in the starting flask.
To start the transfer, insert a bleed needle into the receiving flask. As with the positive pressure transfer, this bleed needle should be the same gauge or smaller than the cannula. Once the transfer begins, remove the bleed needle while opening the receiving flask to the line. This will slow down but continue the rate of transfer. You can also control the rate by raising or lowering the starting flask.
When you achieve the desired transfer amount, lift the cannula tip out of the solution but not out of the cannula. Then, remove the cannula from the receiving flask, followed by the starting flask, and set it aside for cleaning.
The last option for cannula transfer is via siphoning. For this method, follow these steps:
It’s important to note that you don’t need a lot of vacuum pressure to move the solution. Too much vacuum can make the solution bump, evaporate, and freeze inside the cannula. Siphoning requires careful monitoring and a light touch with the vacuum.
It’s crucial to select the correct gauge cannula for your application. A medium gauge cannula is sufficient to transfer solvents. If performing transfers on a suspension, a thick gauge is needed. Small gauge cannulas are best for layering solvent because they enable slow transfer to protect the layer.
After inserting the cannula into the starting flask, never submerge it in the solution. This will cause the liquid to start spraying onto the fume hood.
Sometimes, it’s difficult to hear the flow of gas when working under low pressure. In this case, you can place the cannula tip close to a liquid to see if ripples form on the surface to confirm gas flow. However, you should never point the cannula at your ear or face to listen for gas flow.
Always direct the needle away from your body to avoid potentially life-threatening lab accidents.
While you may be tempted to save clean-up for another day, you should never leave a dirty cannula in the lab. Taking a few extra minutes to clean the cannula properly will keep the lab environment safe and preserve the integrity of your equipment.
Cannulas may be cleaned using water and acetone to flush out any remaining solution. The basic steps for cleaning a cannula that was used to transfer pure solvent are as follows:
For cannulas that transfer a metal-containing solution, rinse with acetone, followed by a water rinse. Then, rinse with a 1 M HCL solution, water again, and finally acetone. Ensure that the final rinses run clear; otherwise, repeat the process.
If transferring solutions that contain only organic ligands, rinse them with the solvent in which the ligand was dissolved, followed by acetone. If the solution was a suspension, rinse with water, acetone, and hexanes.
Air-Tite is your go-to resource for cannula transfers. We offer top-line products and tools to ensure safe and sterile fluid transfers for all your laboratory needs.
Connect with one of our experts and shop from a wide range of cannula sizes that are available now.
Cannula Transfer. The Schlenk Line Survival Guide. 2024.
Section 5.10 Title: Cannula Transfers. University of Wisconsin-Madison. November 1, 2019.
Cannula Transfer. McIndoe Group.